At times, it can be best to reach out to your customers with an email that feels more personal instead of flashy and formatted. This can be accomplished by using a plain text format, without any drag-and-drop elements.
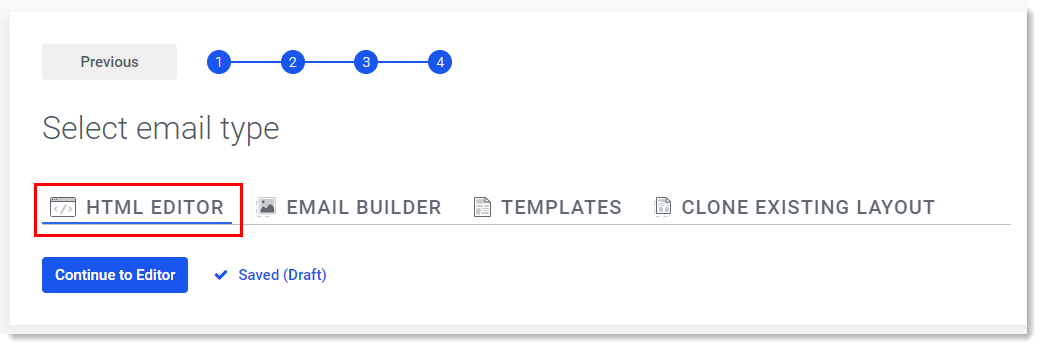
Because the drag-and-drop builder has built-in centering for your email content, it will not spread across the width of the window when users open on larger desktop monitors. To have the text spread across the screen, as it would in a personal email, we must use the HTML builder. When creating a new email, choose the HTML Editor when selecting an email type:

In order to create a basic HTML email, there are a few tags you should become familiar with:
Line Break: <br>
The <br> control creates a line break. A single <br> will skip down to the next line, while two will create a line of separation.
Learn more: HTML Paragraphs and Line Breaks
Insert Link: <a href=""></a>
The <a> tag creates a link inside your email. The destination URL will go inside the quotes after href. To use a merge tag as the destination URL, place the tag inside the quotes. (example: <a href="{{rs_rpu1}}">{{rs_rn1}}</a>)
Learn more: HTML Links
Text Formatting: <i>,<b>,<u>
These tags allow us to italicize, bold, or underline text. They must be closed with </i>,</b>,</u>
Learn more: HTML Text Formatting
Insert Image: <img src="">
The <img> element allows us to add images (like a logo or a gif) into an email. Don't forget to wrap any logos in <a> tags to link them back to your site!
Learn more: HTML Images
Using these various tags, you can make a email that looks great and feels personal, like the example below. On the left side is the HTML code, and on the right side is a preview of what your email will look like to readers.

Comments
0 comments
Please sign in to leave a comment.