Image maps are clickable images with multiple "hot spots" that can each be tied to a unique URL. For example, a user can click on an image that showcases several of your products, and they land on a listing page for the specific item they clicked on.
You can create image maps with tools, like Adobe Illustrator. Please see Adobe's article on slices and image maps. Once your image map is ready in Illustrator:
- Click File > Export > Save for Web.
- In the Save for Web window, click the Preview button.
- A browser window opens displaying your mapped image. You can test your image map by clicking on different parts of the image.
- Copy the code below your image preview. If your image is large, you need to scroll down to see it.
- In Illustrator, save the image and then upload it to our server.
- Grab the URL for your newly imported image and replace the image URL in the <img src> of your copied code with the new image URL.
Here is what the completed code looks like in the email builder:
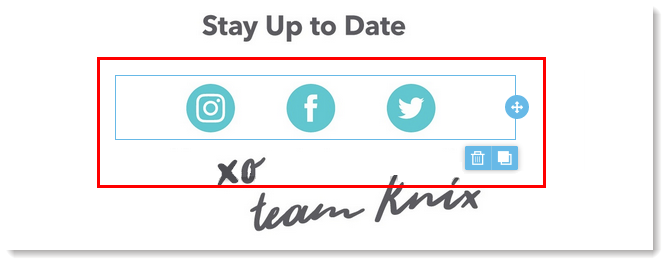
- Content block with an image of three social icons:

- HTML code for the image map with unique URLs for each social platform:
<img src="https://bee-files-production.s3.amazonaws.com/uid_472/Social-2.jpg" width="100%" title usemap="#Social-2map" border="0" />
<map name="Social-2map">
<area shape="circle" coords="130,45,65" href="https://www.instagram.com/knixwear/" alt="Instagram" style="outline:none;" />
<area shape="circle" coords="270,45,60" href="https://www.facebook.com/KnixWear/" alt="Facebook" style="outline:none;" />
<area shape="circle" coords="410,50,60" href="https://twitter.com/knixwear" alt="Twitter" style="outline:none;" />
</map>
Comments
0 comments
Please sign in to leave a comment.