Adding and managing rows in the drag-and-drop email builder makes it easy to customize the layout of your email.
What is a row?
Basic row controls
Row properties
Column properties
What is a row?
A row is a grouping of columns that work as a single unit. A row can consist of between one and four columns. Content can be stacked on top of each other within a single column, but multiple columns must be used to place content side-by-side.
The drag-and-drop email builder contains default rows. In addition to the pre-built rows available to you, you can create and save custom rows for future use.
Basic row controls
Add a new row
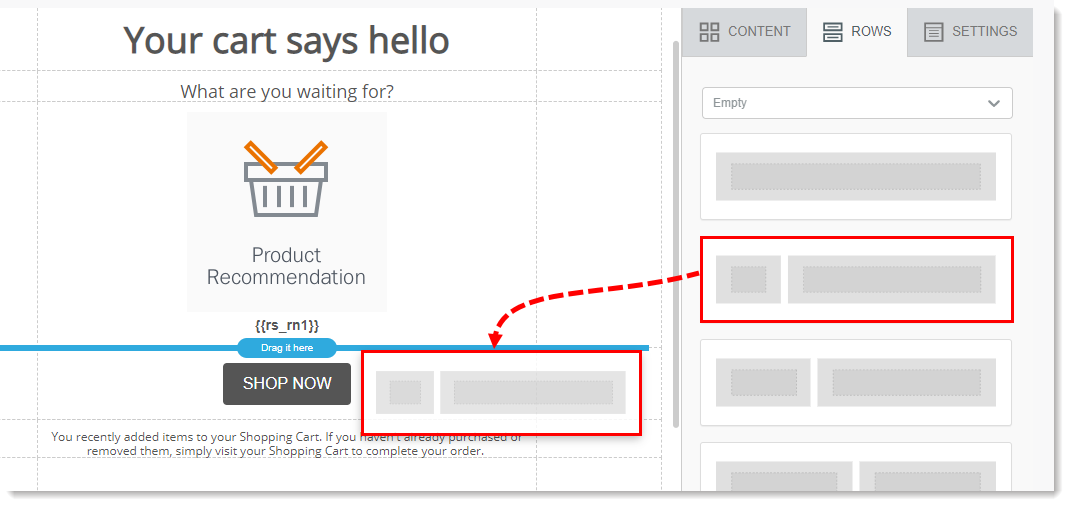
From the "row" tab, drag a new row into your email template. Use the the blue guideline to find the right placement.
Select an existing row
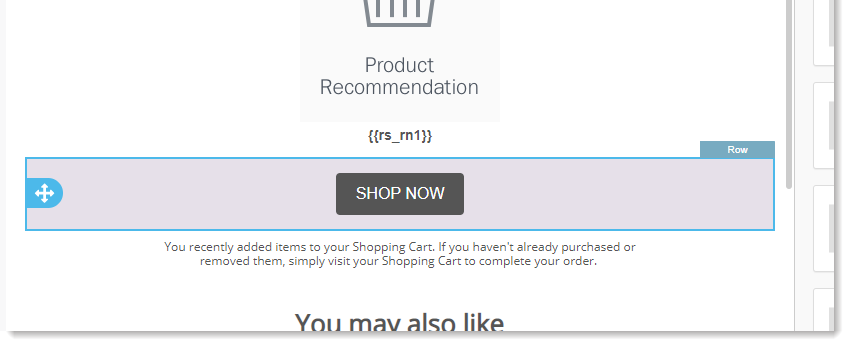
Hover your mouse over the row until you see a blue box highlight the entire structure and a "row" tag appears.
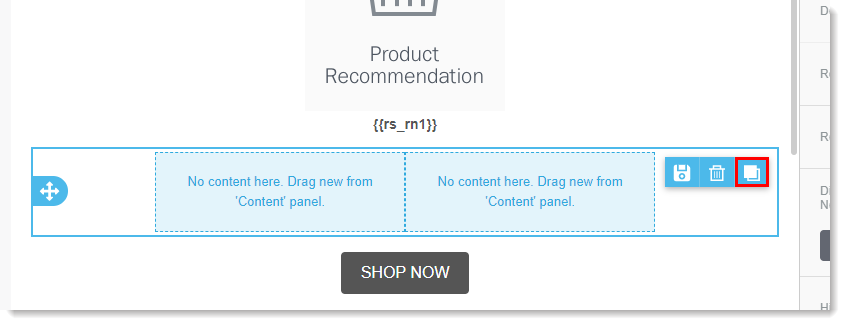
Click to select the row. When the row is selected, the three buttons will appear in the top right corner, giving you the option to save, delete or copy your row.
Copy a row
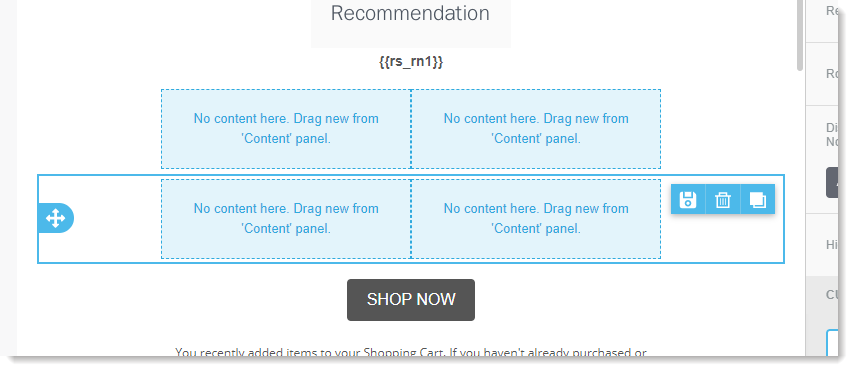
Click the icon that looks like two squares on the right side of the row.
The copy will appear directly below the original row.
Move a row
Click on the arrows icon on the left side of the row and drag your row to its new position.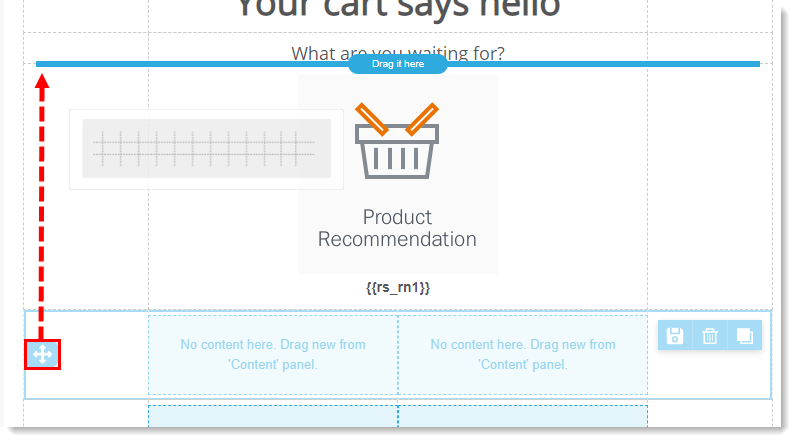
Delete a row
Click the trash can icon on the right side of the row.
Save a custom row
Click the floppy disc icon on the right side of the row.

Once you click the icon, you will be prompted to provide a unique name for the row as well as a category. If no categories exist yet, enter a new category name and you'll be prompted to save it. Be sure to use a consistent syntax for names & categories to ensure it will be easy to find when retrieving.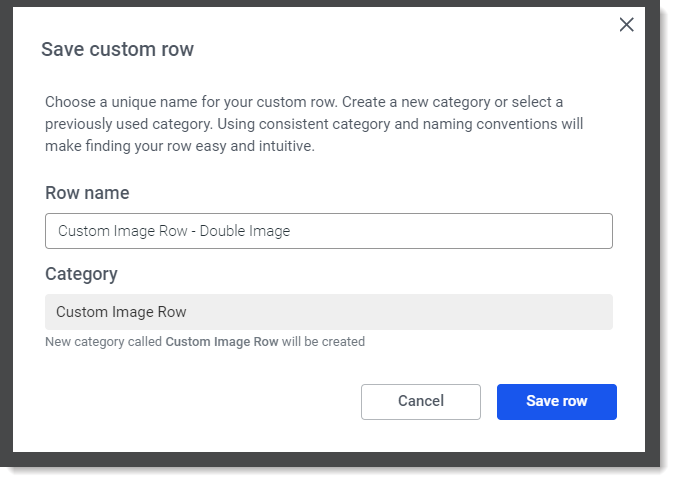
The same action is also available in the row properties panel when a row is selected: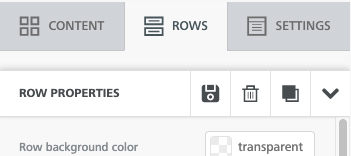
Add a custom row to your email
First select the Rows tab, then select a Category from the drop down menu. All saved rows for the category will display in the preview section. Simply click and drag the row of your choice into the desired slot in the template.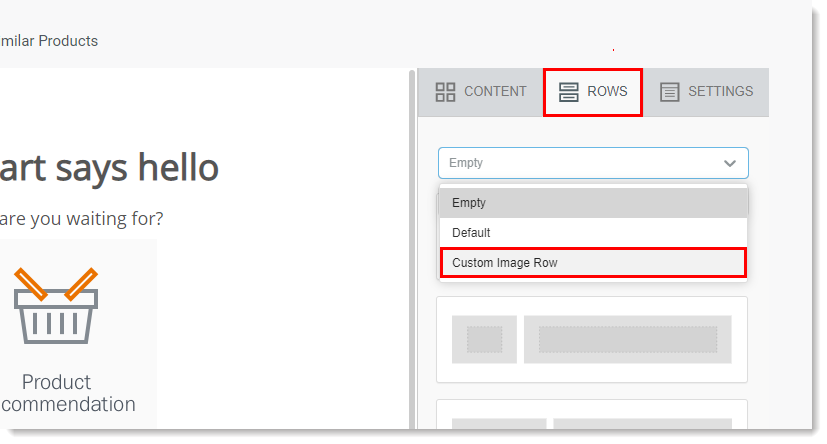
All saved rows for the category will display in the preview section. Simply click and drag the row of your choice into the desired slot in the template.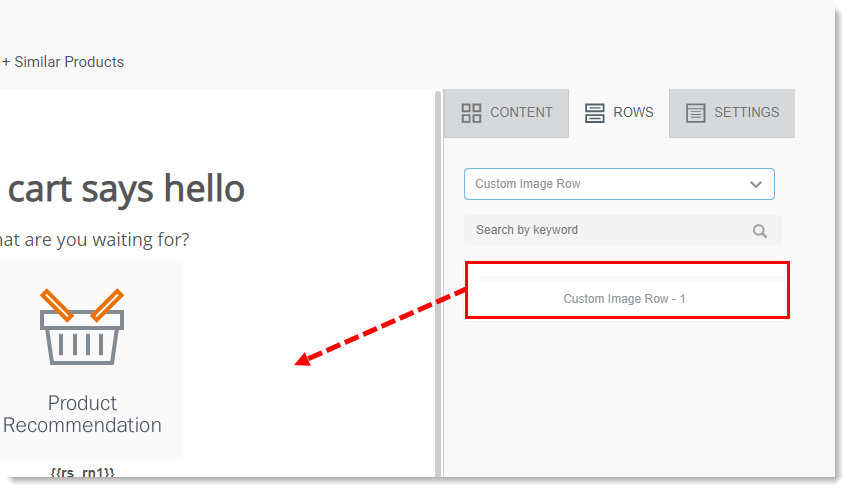
Delete a custom row
Select the dropdown in the upper right corner and click Edit custom rows.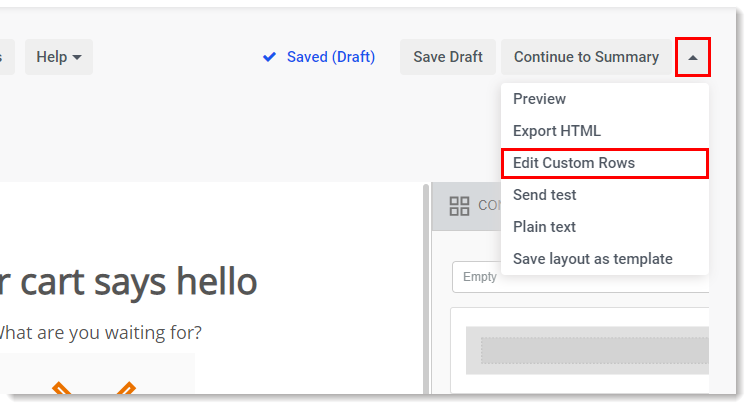
Select the dropdown to the left of the custom row category, and then click on the trash can icon for the custom row you'd like to delete.![]()
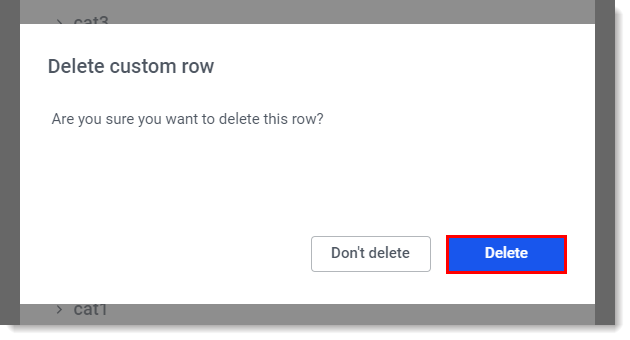
Confirm that you'd like to delete the custom row by clicking Delete.
Row properties
When a row is selected, the right side of the editor will now show you a row properties menu, which provides additional control over the appearance and layout of your row.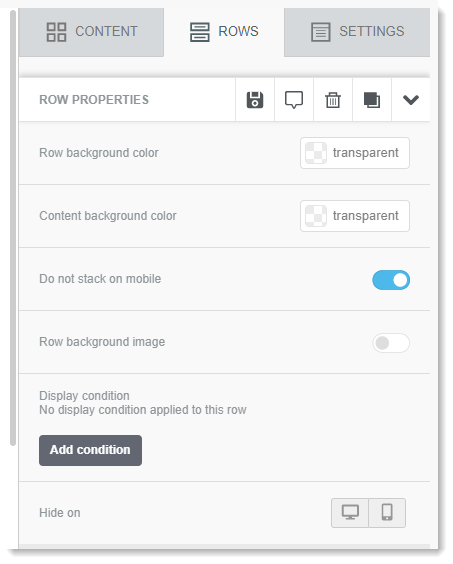
Row Background
The row background can be set to any RGB color, or you can select a specific image using the "Row Background Image" control.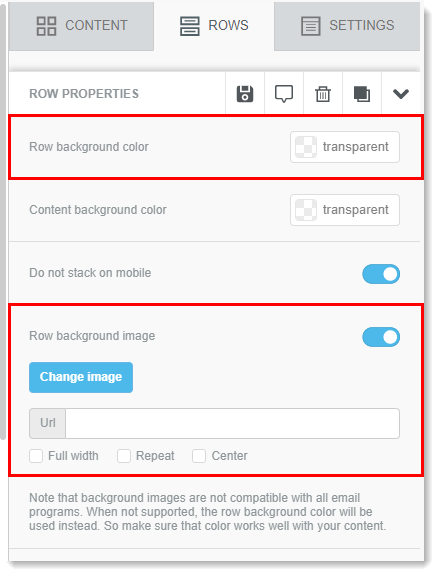
Content Background Color
This will set a background color for your content areas within the row. This can be set to any RGB color using the included selection tool.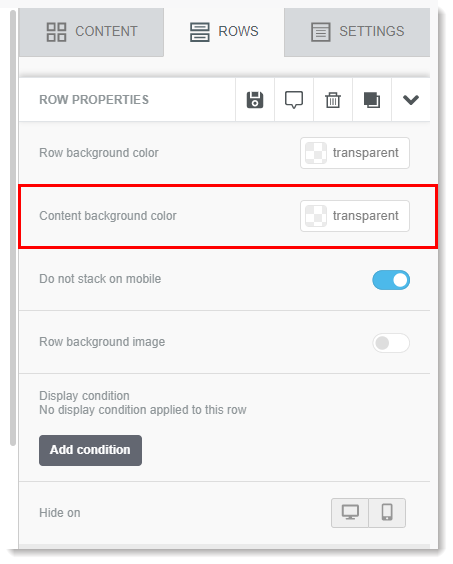
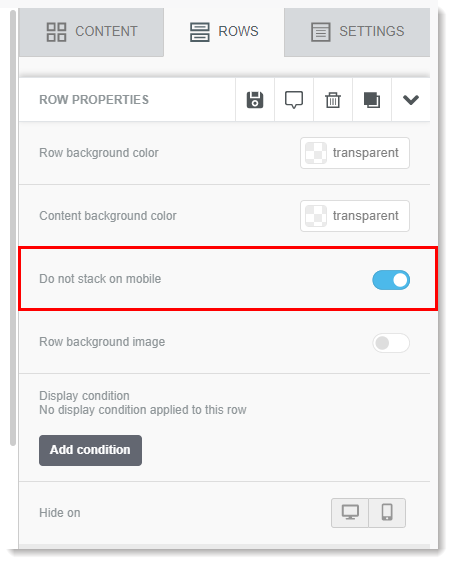
Mobile Stacking
For each row in your email template, you can choose whether it should stack when the email is viewed on a mobile device. Read more about mobile stacking here.
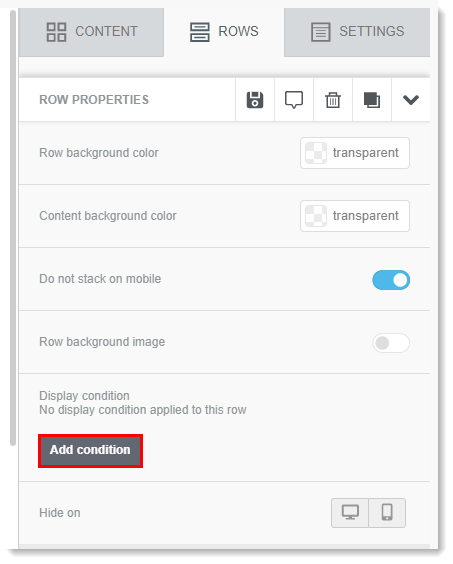
Display Conditions
These can be used to control how content is displayed. Conditions are set based on merge tag values. Read more about display conditions here.
Column properties
Below the Row Properties menu you will find the Column Properties menu. Click on the boxes to access the settings for each column. Click on the dots between the boxes and drag left or right in order to increase/decrease the width of the columns on either side of the dots.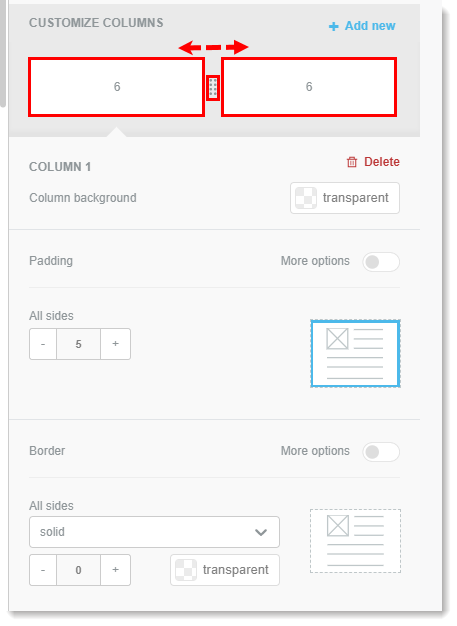
Column Background
This can be used to set a background color for your content areas within the row. This can be set to any RGB color using the included selection tool.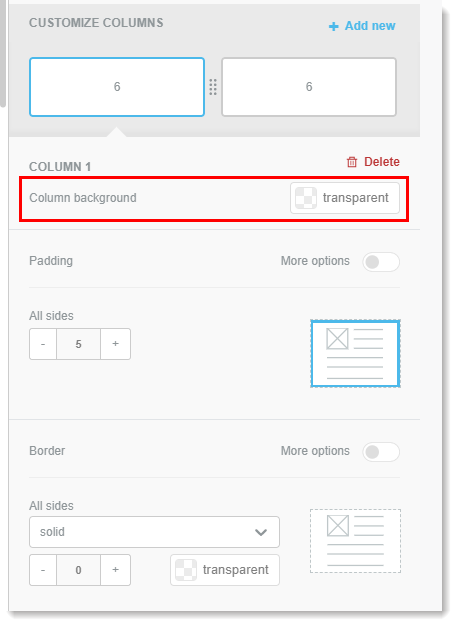
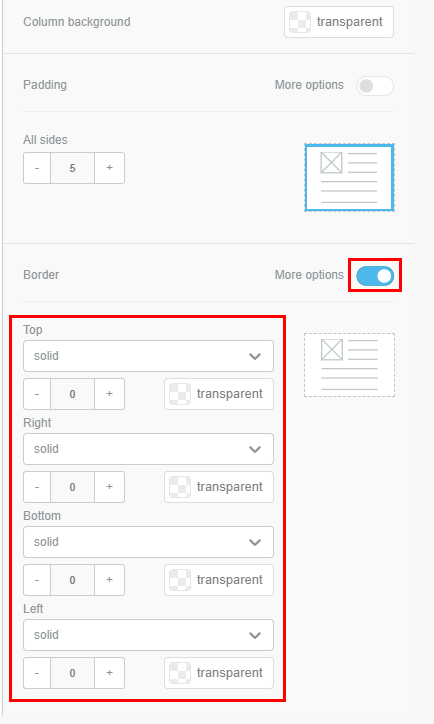
Padding
This can be used to set the padding around each content block in your row. This can be set for all sides at once, or you can set the padding for each individual side.
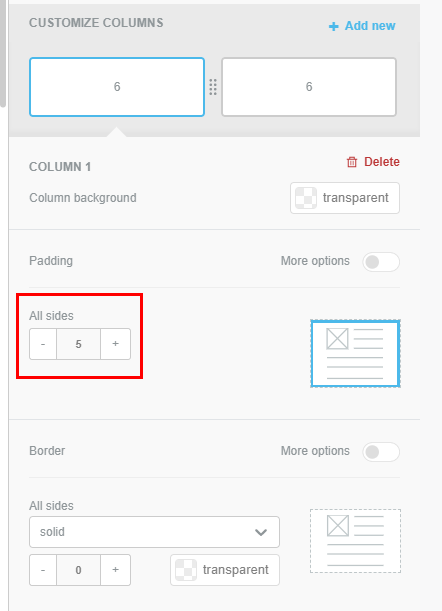 |
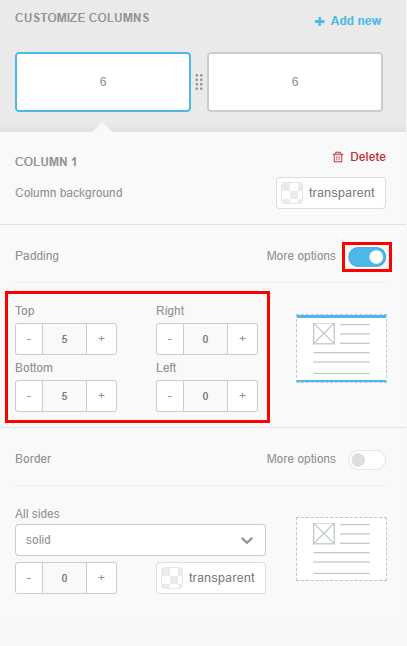 |
Border
This can be used to set a border around each content block in your row. This can be set for all sides at once, or you can set the border for each individual side.
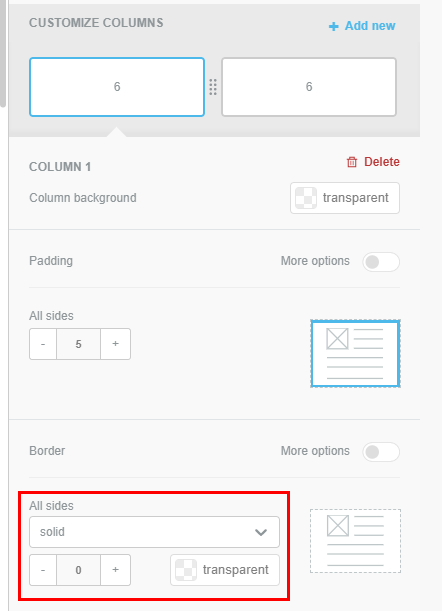 |
 |
Comments
0 comments
Please sign in to leave a comment.