A Promotional Blast is best used for delivery-critical messaging that must reach certain users at a specific time. They are best used for single-day sales or niche cases such as a product recall where the email must reach everyone on the targeted list. A Promotional Blast puts you in control of the send and overrides any Cortex prioritization.
|
|
Learn more: Understand the differences between a Smart Blast and a Promo Blast and when to use each. |
Create a Promotional Blast
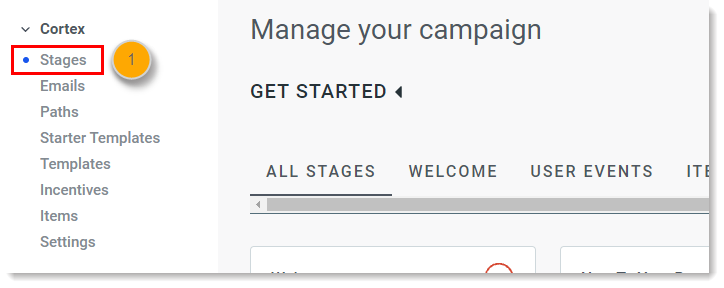
- Click Stages within the Cortex menu on the left.
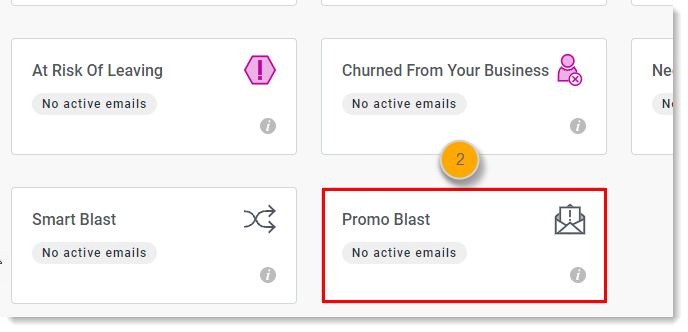
- Within the "All Stages" section, click the Promo Blast block.
- Click New Email > Create New.

- Enter a name for you email and then click Continue.
Tip: Utilize distinct and recognizable names to help differentiate experiments from one another. (Example: 20160831 New Product Promo Blast Group A)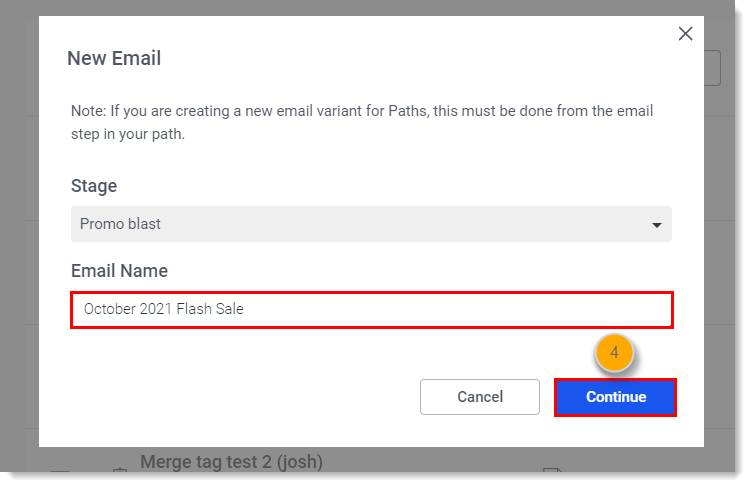
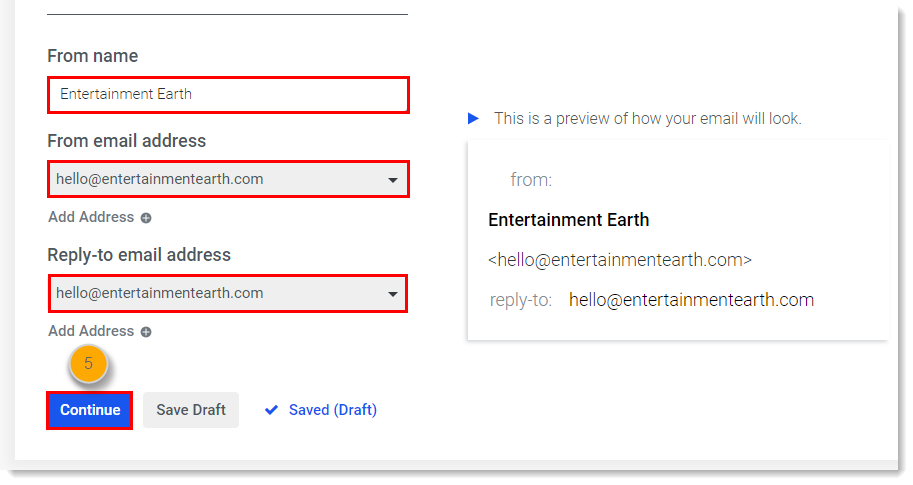
- The From name, From email, and Reply-to email address will default to what was entered during onboarding. You can change these fields if you wish. Click "Save Draft" if any changes are made and then click Continue.
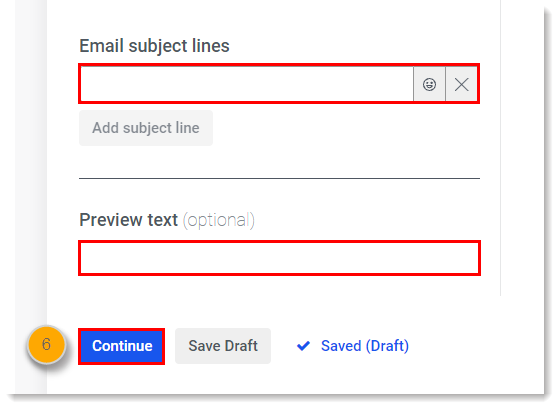
- Enter the email's subject lines and optional preview text. Then click Continue.
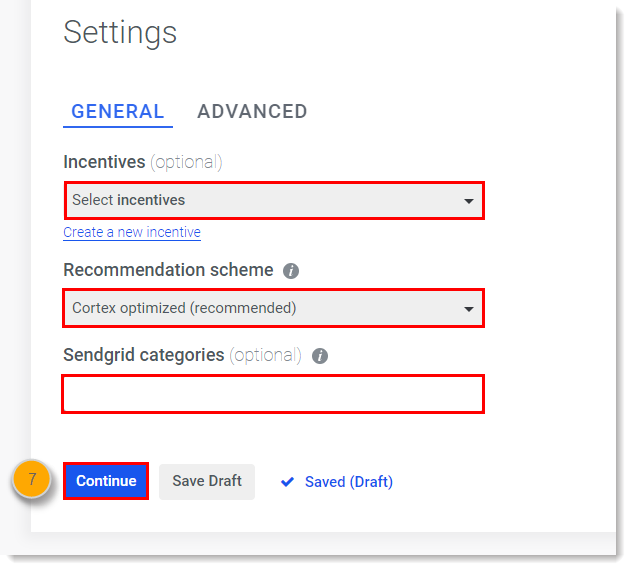
- On the Settings tab, fill out the optional fields within the General subtab:
-
Incentives - Select the incentives you wish to populate or split test in the email. More info here.
-
Recommendation Scheme - If you want to select a specific recommendation scheme for your email, choose the scheme from the drop down. More info here.
- SendGrid categories - Enter category names, separated by a comma, if applicable.
-
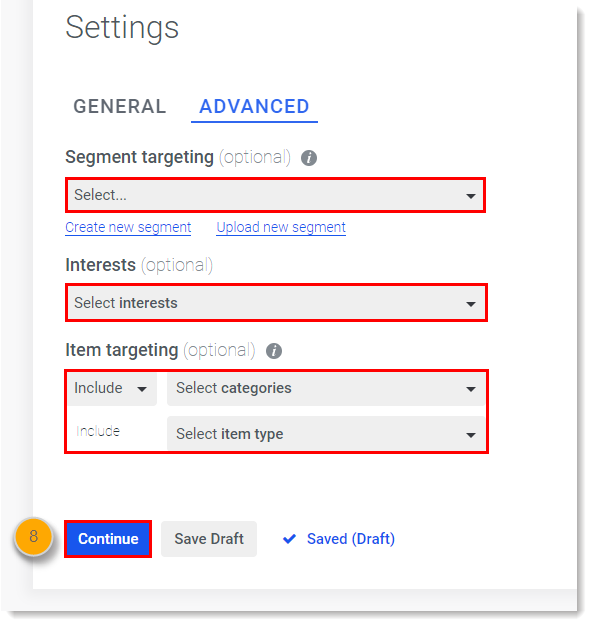
- Fill out the optional fields within the Advanced subtab:
-
Segment targeting - Select a segment from the drop down if you want a specific cohort to receive this email.
- Interests - Select one or more interests from the dropdown to apply to this email.
-
Item targeting - Select a specific category or item type to include or exclude from the product recommendations in this email.
-
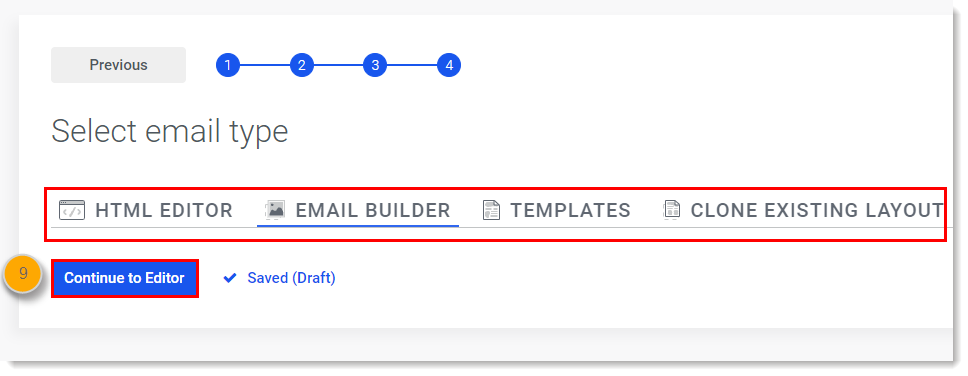
- Select the email editor type to work with. Then click Continue to Editor.
- Within the editor, build your email. Click Save Draft every once and while to save all your hard work.
- Once completed, you can preview your email, send a test email, create a plain text version of your email, and more by clicking the drop down menu in the top right hand corner.
Note: In the Drag and Drop builder only, you can export the HTML for your own purposes.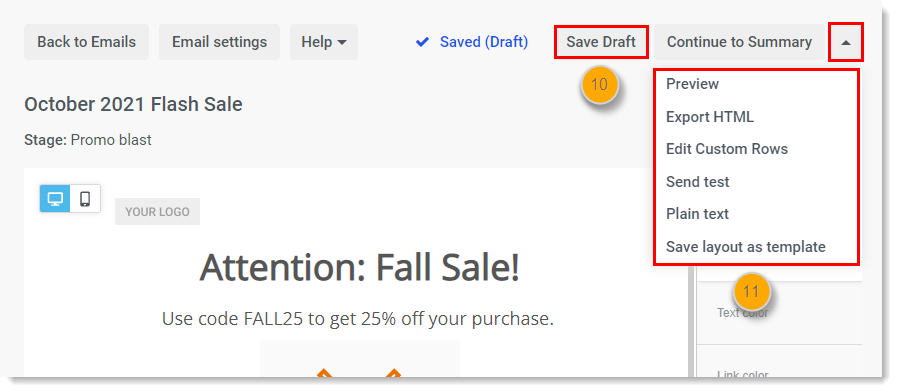
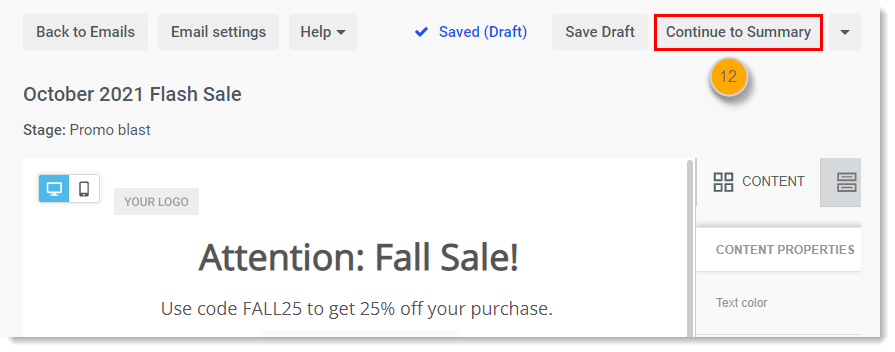
- Click Continue to summary to proceed to the final Summary screen.
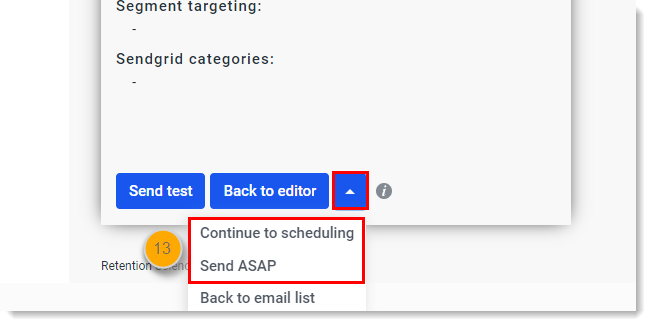
- Confirm all your settings and proceed to activate your email:
- Send ASAP - will start sending the email as soon as all the data is processed. This will typically take less than 15-30 minutes, but can take longer for larger sites with a lot of users.
- Continue to scheduling - will prompt you with a scheduling option.
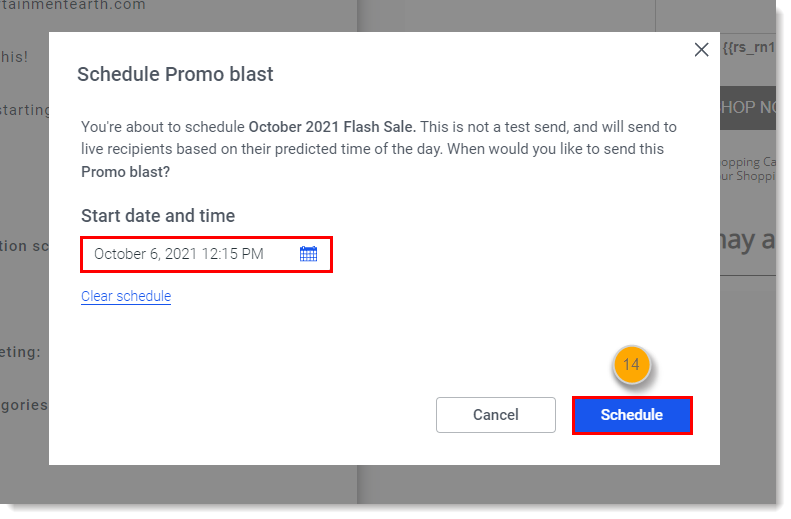
- Fill out the schedule fields, and then click Schedule now.
- Review the confirmation message, and then click Yes.
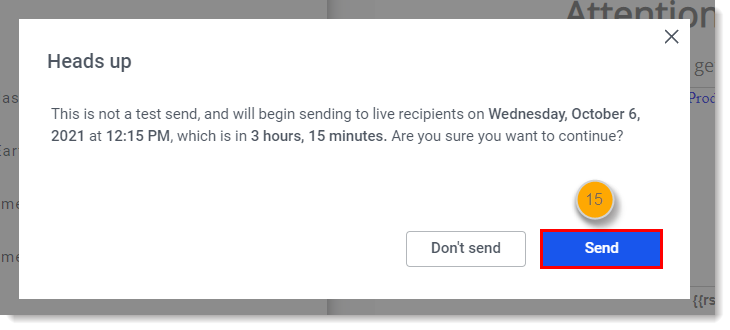
- Click OK.

After clicking OK, you'll see the email listed in the Emails page with a status of "scheduled".
Comments
0 comments
Please sign in to leave a comment.