
If you want to confirm that you have correctly implemented the code snippet provided in the 'Setup Instructions' menu and/or test the functionality of a newly created lightbox on-site, follow these steps to add a condition that will allow you to control where the lightbox is displayed. This will allow you to run realistic tests without making the lightbox available to all site users.
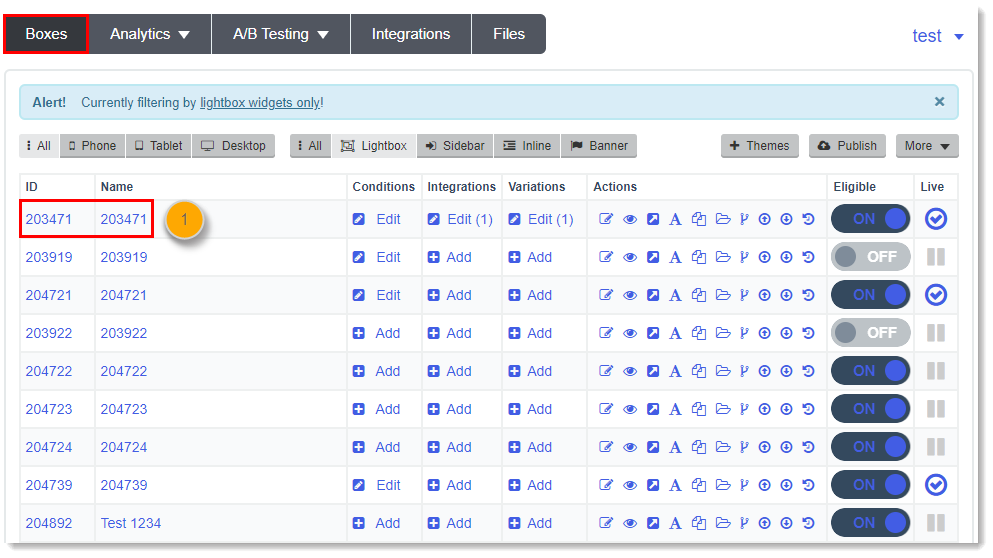
- After creating the lightbox you want to test, open the Lightbox from the list under the "Boxes" tab.
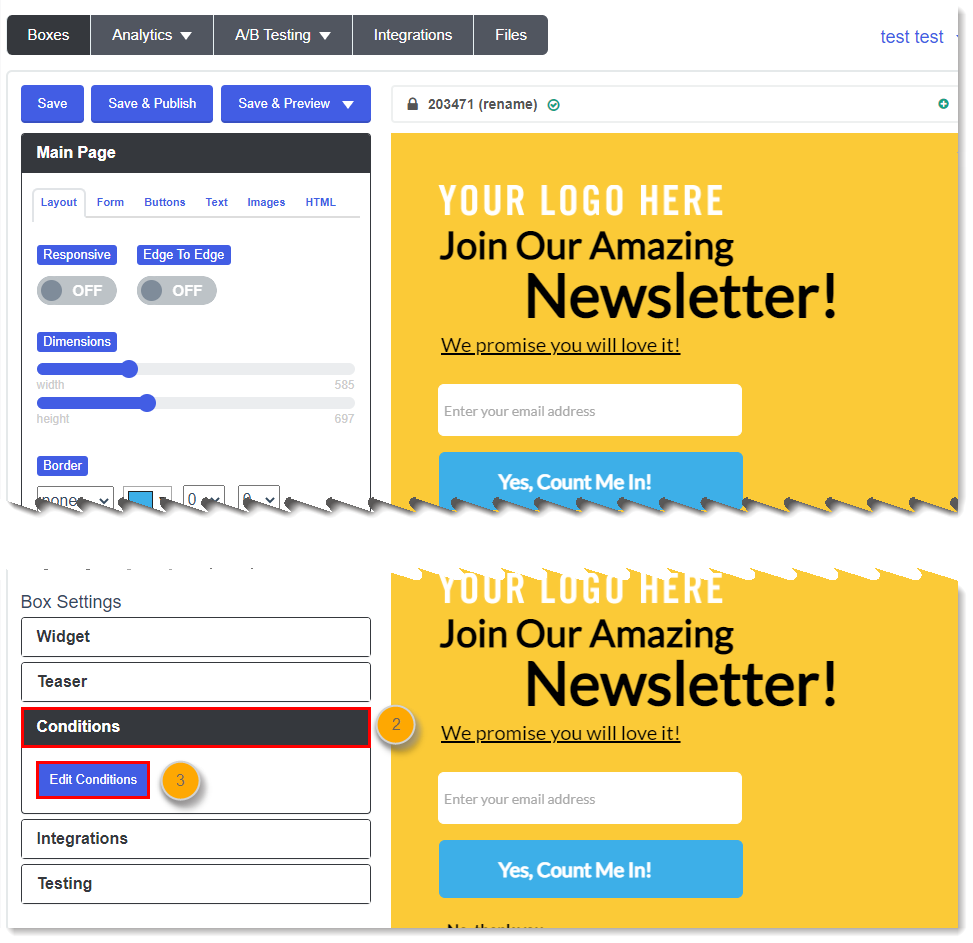
- Scroll to the bottom of the left panel and click the Conditions menu item.
- Click Edit Conditions to display the conditions windows.
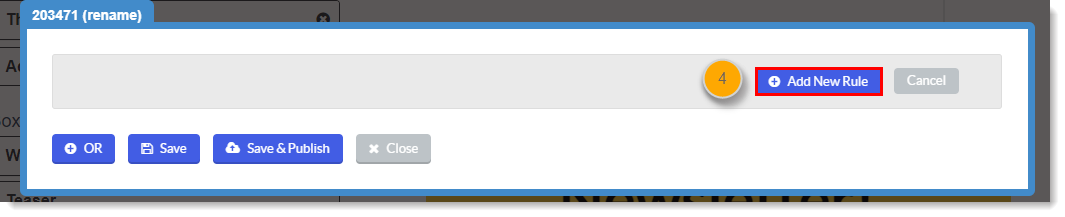
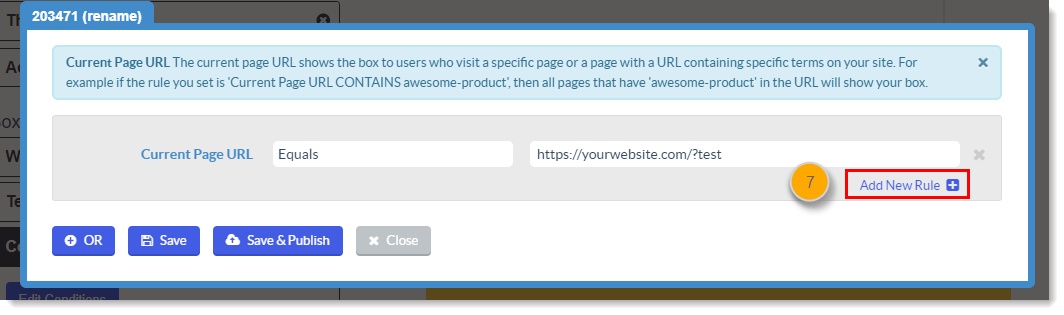
- In the conditions window, click the Add New Rule button to add Property options.
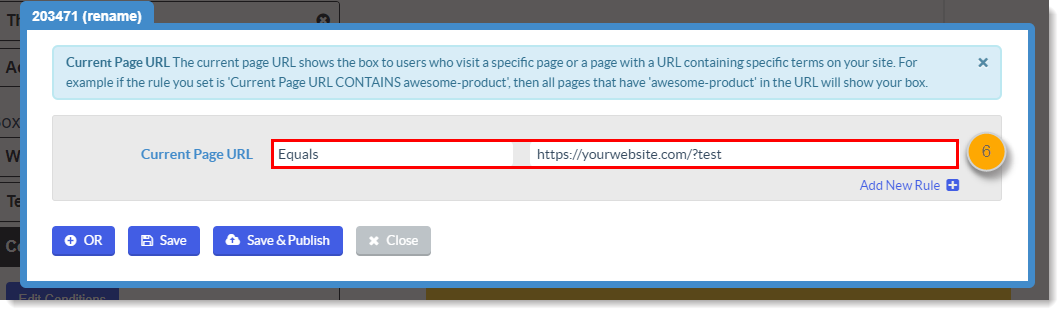
- From the drop-down that appears, select Current Page URL.

- Then choose Equals. Set the URL to your site URL with "/?test" appended to the end. Note: You can add any string after the "?" (e.g. https://yourwebsite.com/?welcome_incentive ).
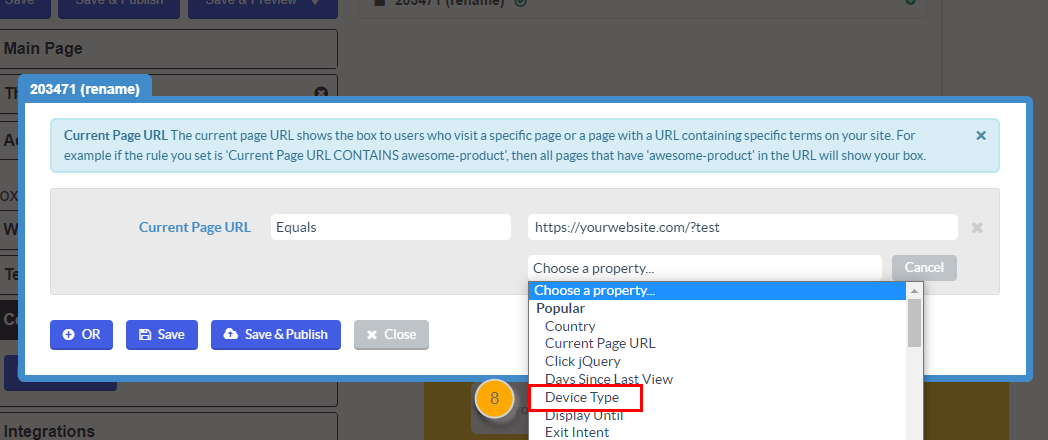
- In the conditions window, click Add New Rule from under the URL area.
- Select Device Type from the drop-down menu.
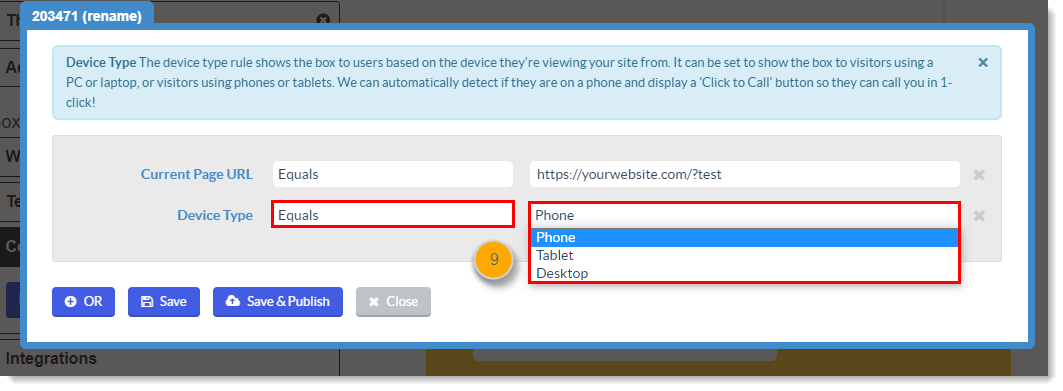
- Choose Equals. Select Phone, Tablet, or Desktop, depending on which device you intend to use for testing.
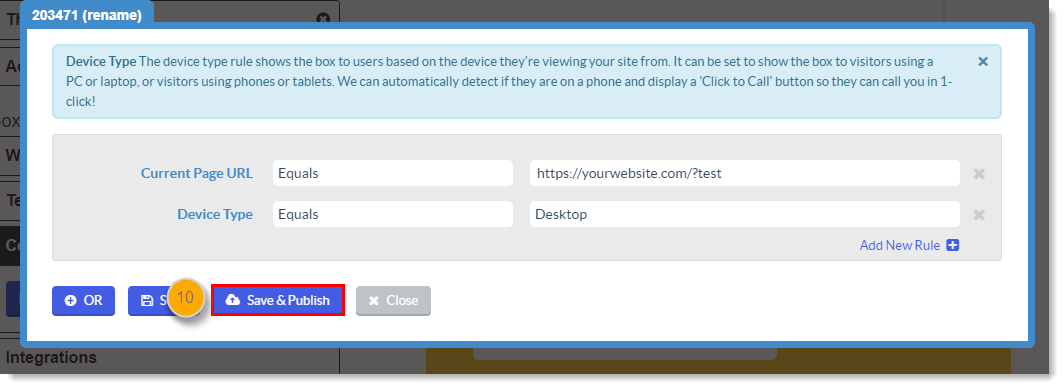
- Click Save & Publish.
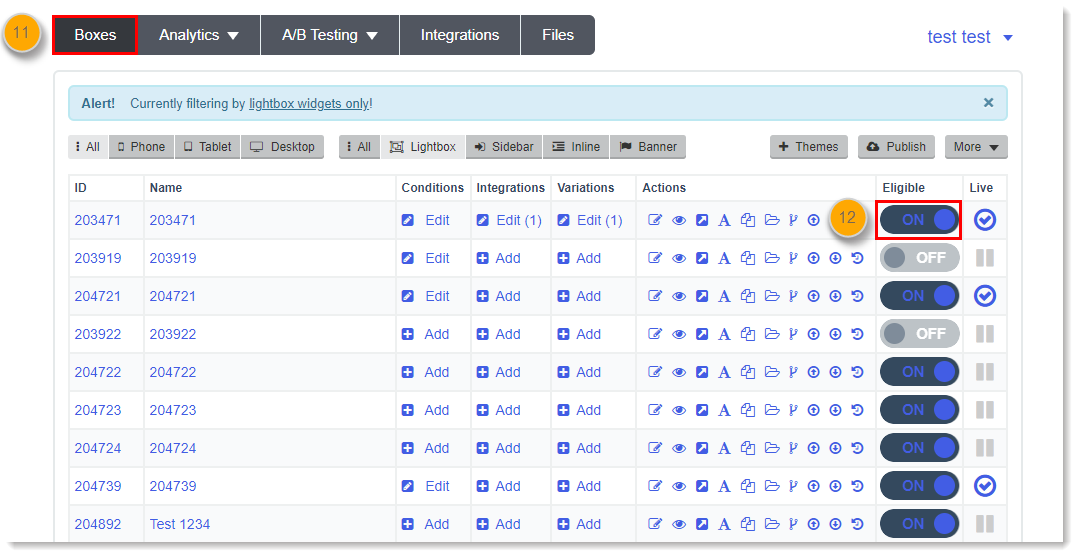
- Now that your conditions have been set, click Boxes to return to the main dashboard.
- Make sure your lightbox is enabled by clicking the button under the "Eligible" header so it switches to ON.
- Finally, use a device that matches the Device Type you set in the Conditions window to browse to the URL you set. If the lightbox is displayed you have successfully implemented the code snippet. Now, you can test the functionality of your lightbox.
Comments
0 comments
Please sign in to leave a comment.